DIY Installation Guide
As an alternative to our professional installation services, follow these preparation guidelines to ensure a successful DIY installation:
1. Check your Wall Texture: If installing wallpaper, please note that highly-textured walls may not provide enough surface area for wallpaper to properly adhere. If you have questions about installing wallpaper for a highly-textured wall, please contact info@greenscenes.net.
2. Clear the Installation Surface: Ensure that all surfaces where the graphics are to be installed are free of fixtures, shelving, furniture, picture frames, outlet covers, devices, counters, or cabinets.
3. Surface Preparation: To allow proper adhesion of your graphics, ensure that the wall or installation surface is smooth and free of irregularities.
- Patching: Fill any holes and patch any blemishes or irregularities.
- Sanding: Once patching is complete, carefully sand the area to create a smooth finish.
- Priming: Once sanding is complete, remove all dust and debris from the surface and apply a coat of primer to the repaired areas to ensure optimal adhesion and a uniform appearance.
- Curing: Allow at least 48 hours for the primer to fully cure before the scheduled installation. This waiting period is crucial for ensuring the primer sets properly, providing a solid foundation for your graphics.
- If you have any questions, please reach out to us at info@greenscenes.net.
4. Clean the Installation Surface: Once your surface is prepped, it's essential to remove any residual dust, oils, or contaminants that could inhibit proper adhesion of the graphics. This can be achieved by thoroughly wiping down the surface with either rubbing alcohol or a highly-diluted soap-water mixture. Before proceeding with the installation, make sure the wall is completely dry, as any moisture can compromise the adhesive’s effectiveness and the longevity of your graphics.
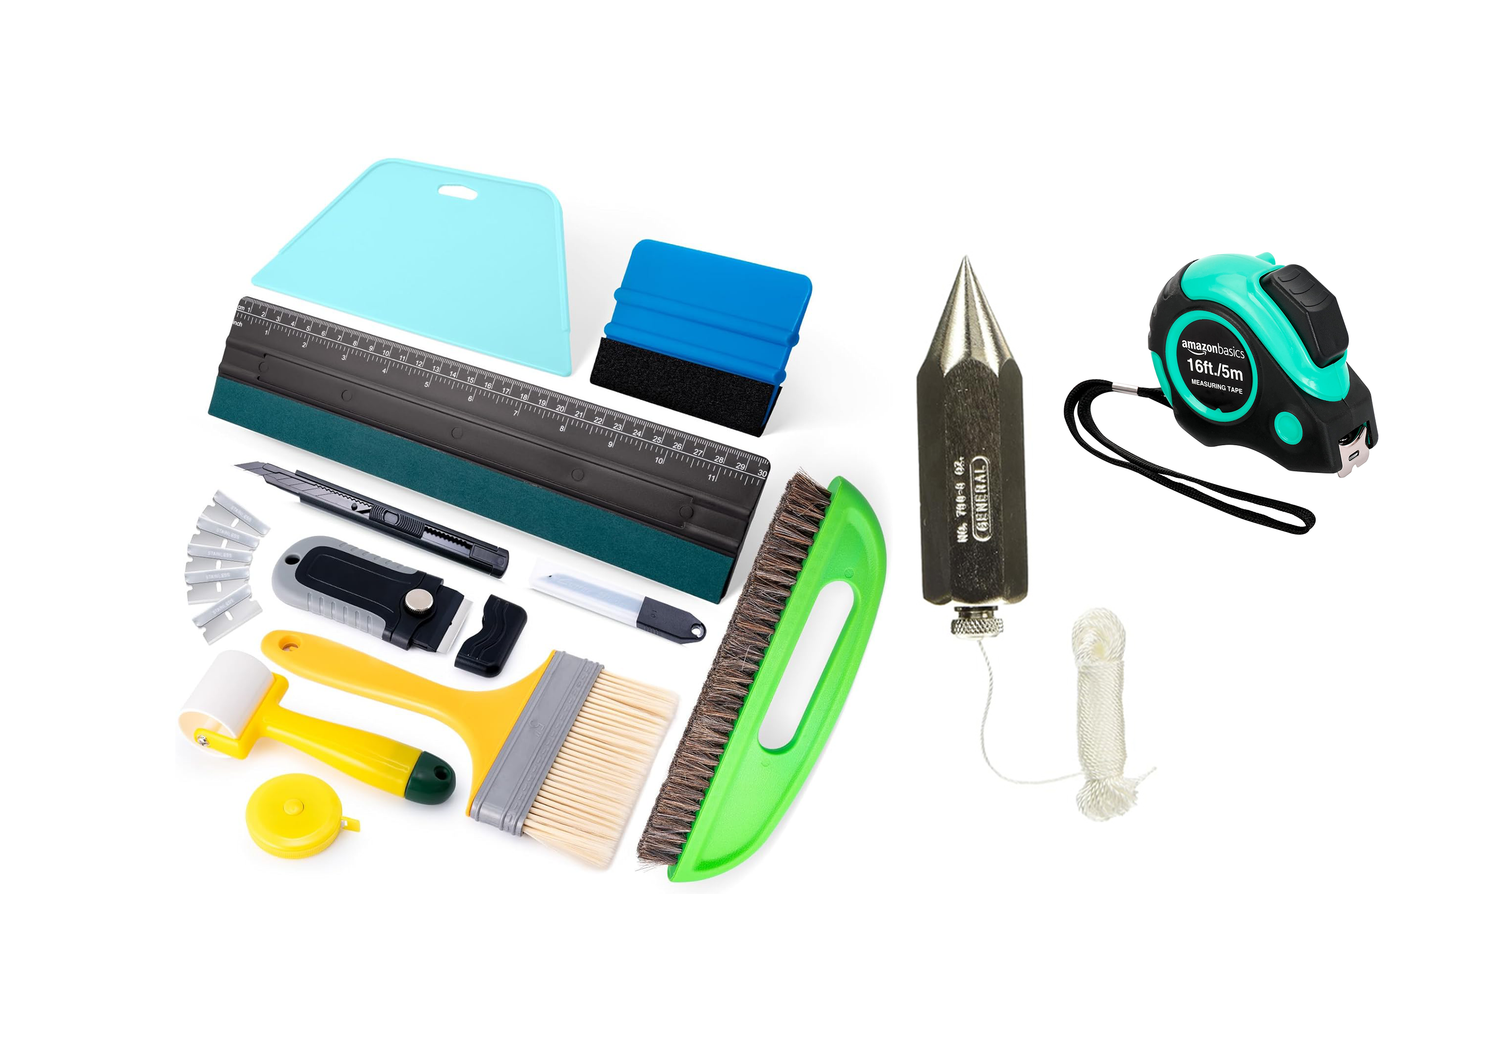
DIY Install Kit
Seeking the tools to install interior graphics on your own? Explore the convenience of our DIY Install Kit, available for just $65. This comprehensive kit comes equipped with a plumb bob to accurately align your initial panel, a tape measure, squeegee, brush, razor knife, and straight edge— all the essentials for a flawless finish.
-

Plumb bob plus push pin
-
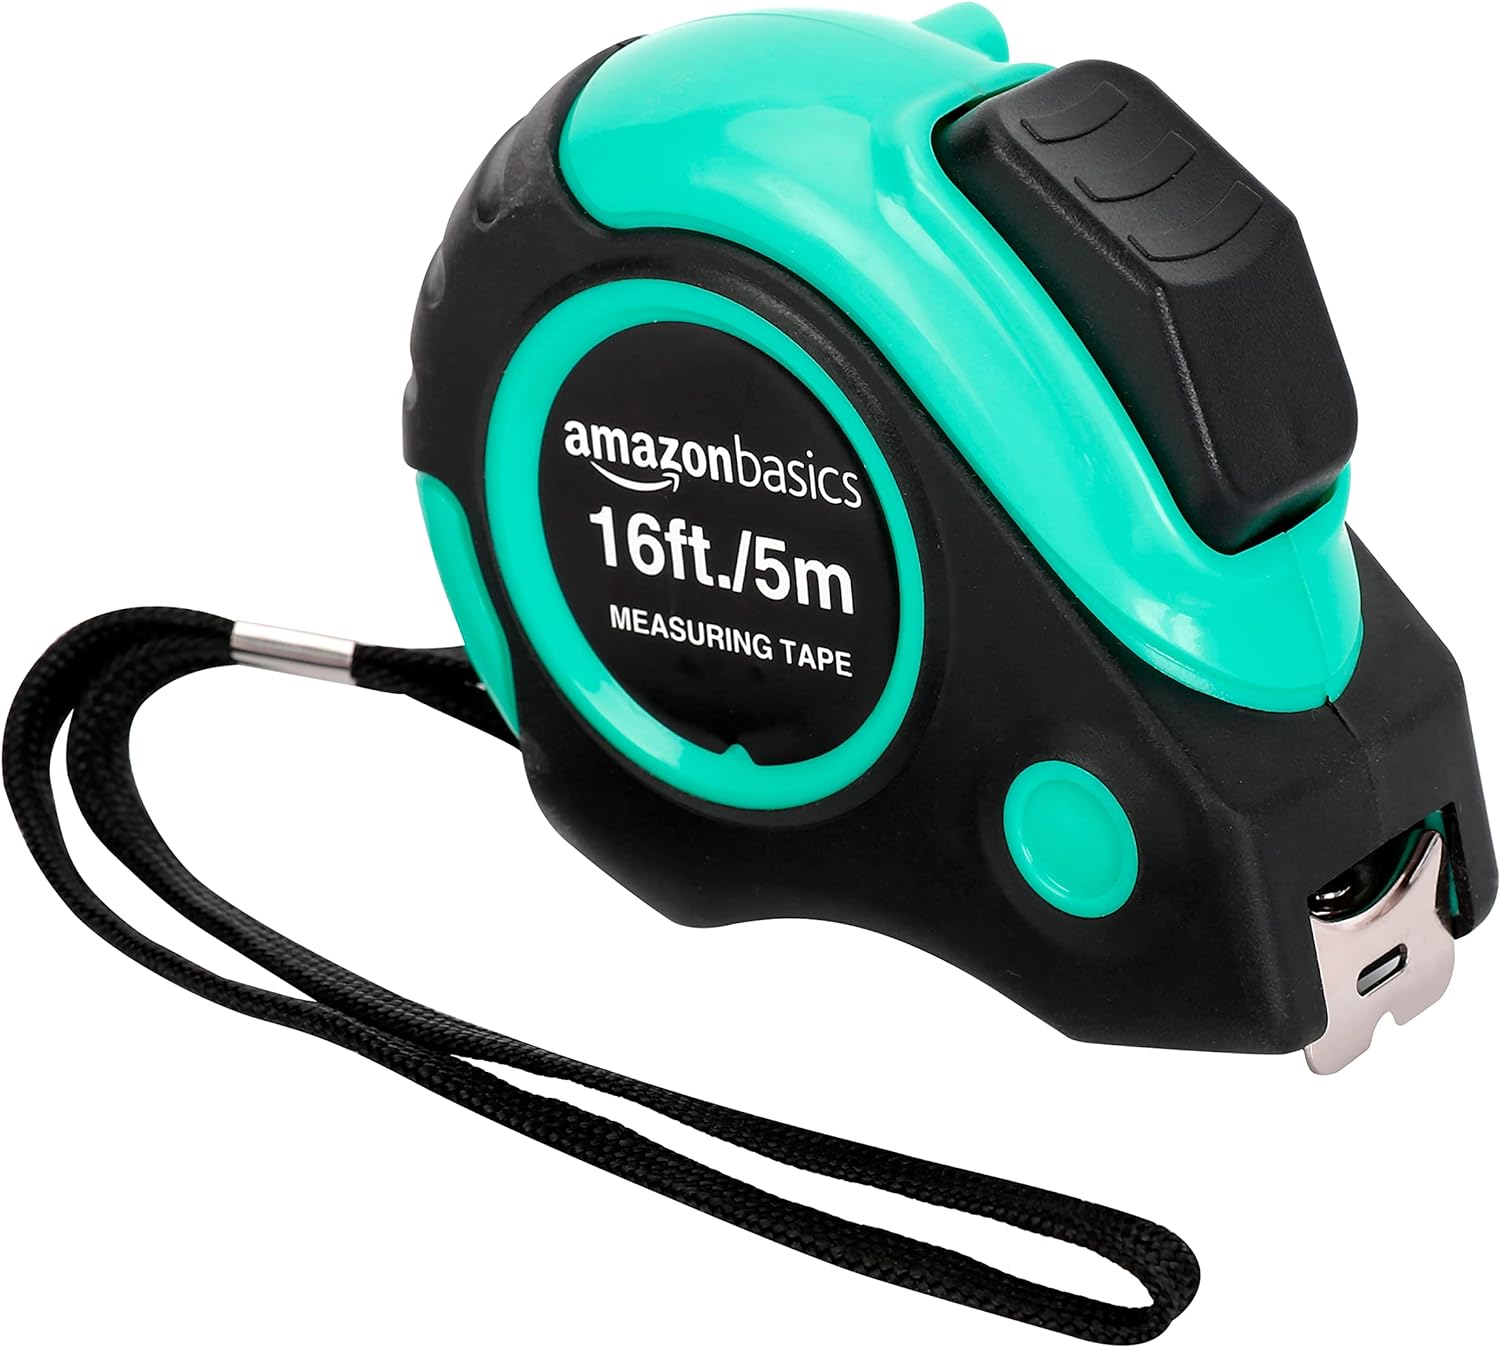
Tape Measure
-
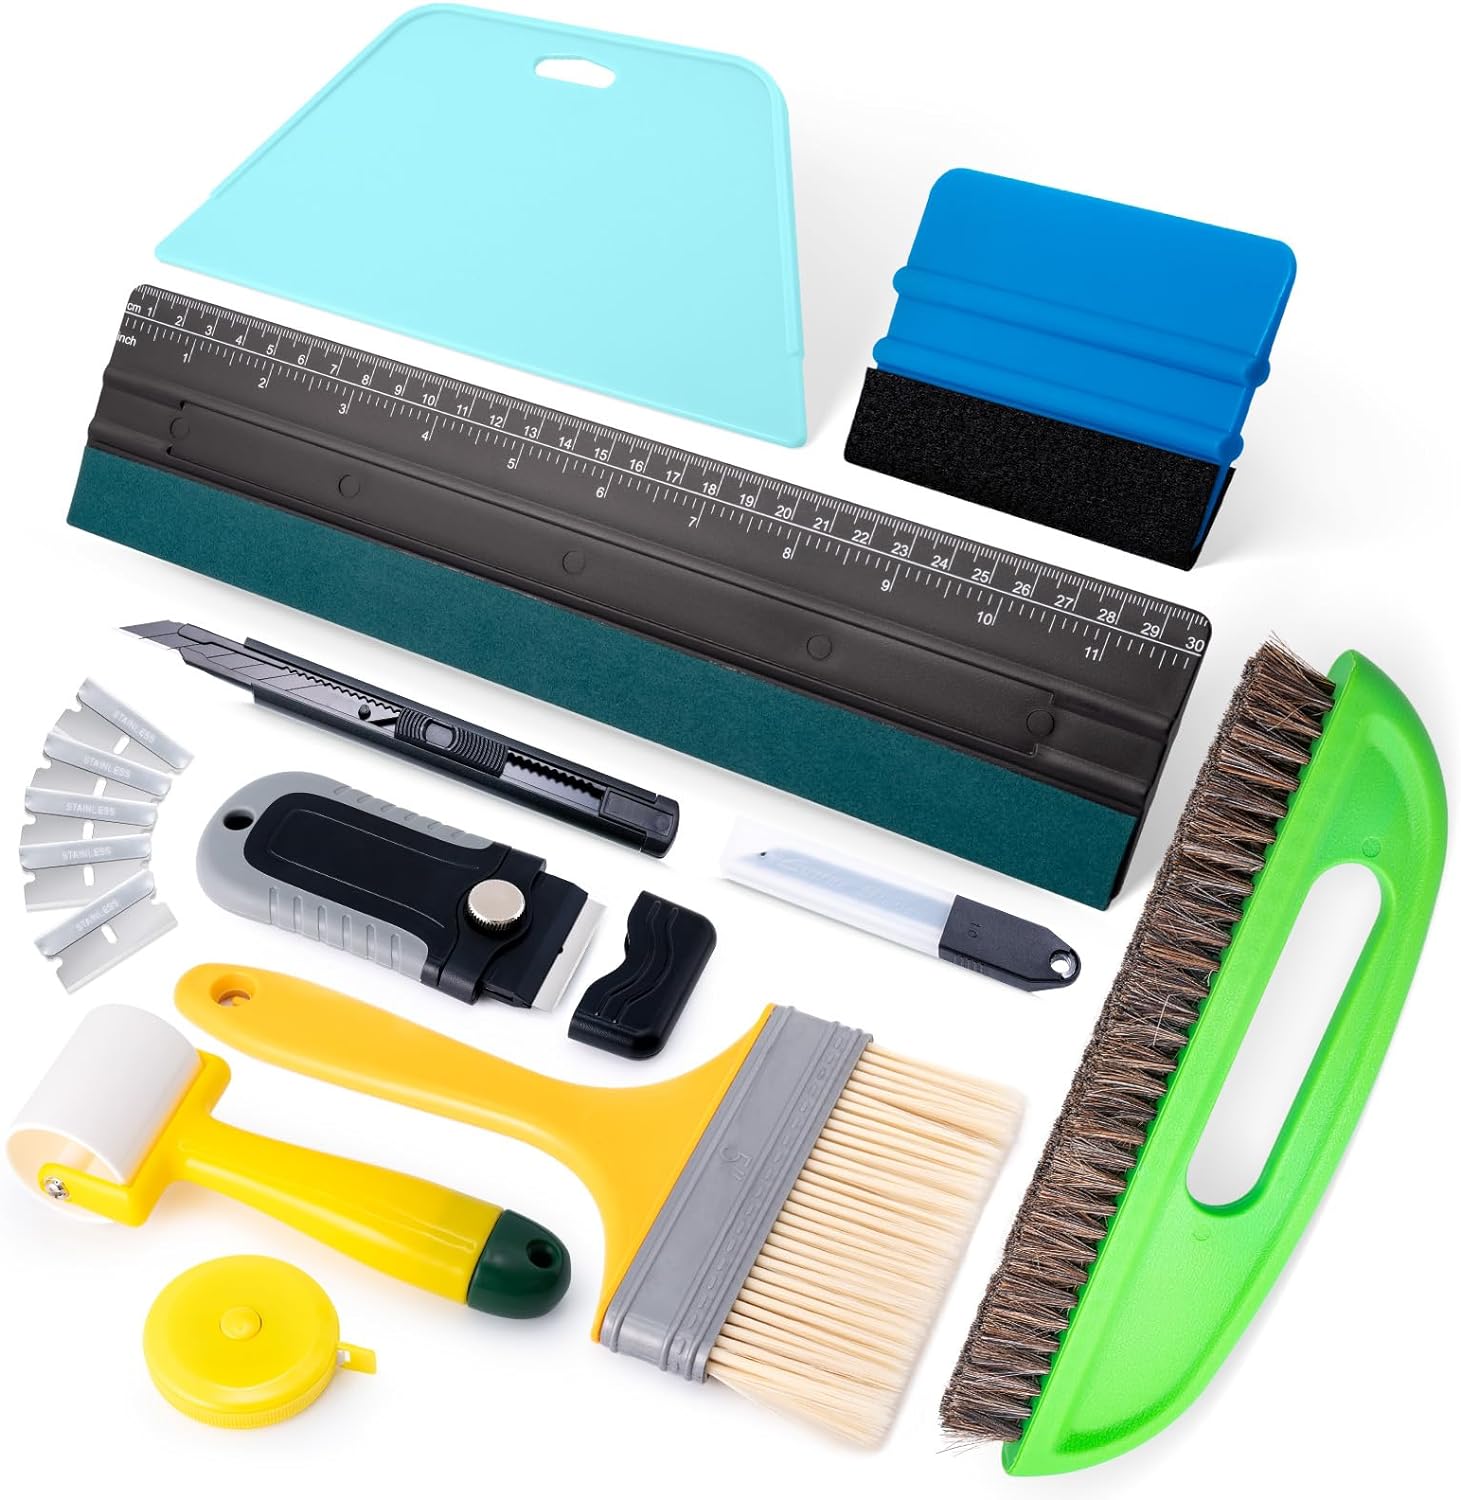
Install Kit


